Recording a Doom Metal Album: Techniques for a Heavy, Atmospheric Sound
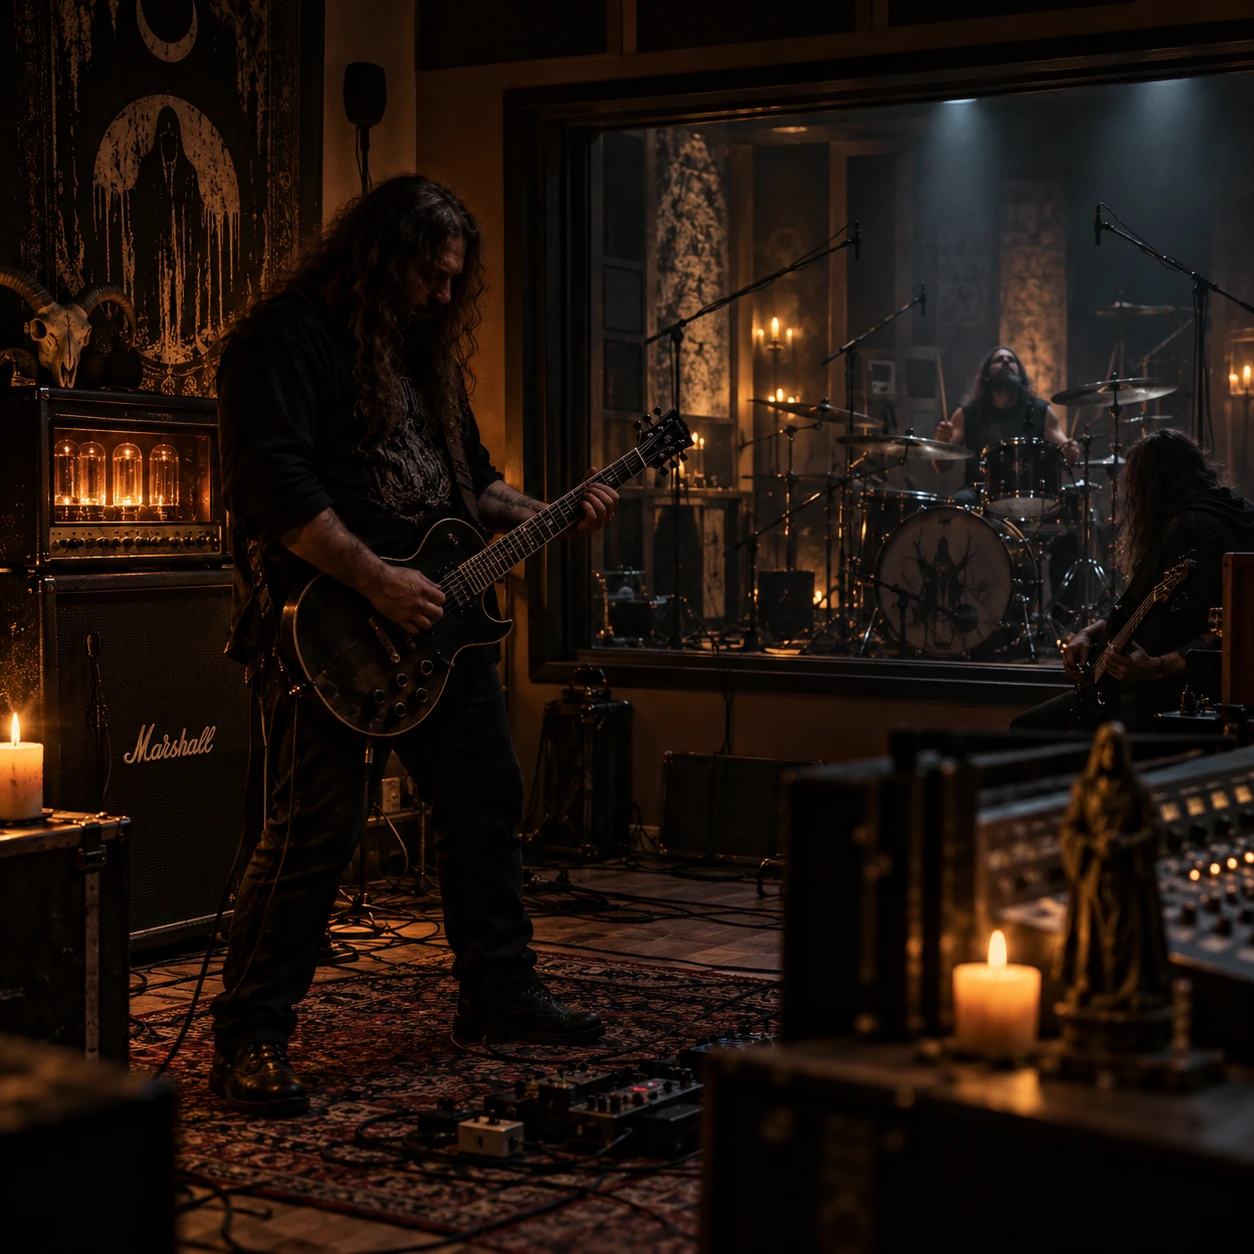
A convincing doom metal album feels heavy because every part supports the song’s tension, scale, and emotional arc. Slow riffs and low tunings matter, but so do the space between notes, the room around the drums, and the way distortion leaves room for a vocal or a sustained chord.
Whether you are tracking in a professional studio or building a home setup, start with the arrangement and make recording choices that serve the song. More gain, more layers, and more reverb can add size, but each can also blur the sound.
Build the Sound Around the Song
Build a doom metal recording around the riff’s mood, pacing, and dynamics before choosing tones or microphones. A clear arrangement gives every instrument space to make the music feel heavier.
Begin pre-production with a demo that captures the song’s full shape, including quiet passages, transitions, and endings. Mark where the band should hold back and where it should open up. If every section uses the same density and volume, a slow song can feel static rather than monumental.
Listen for the central musical idea. A guitar figure may carry the song, while bass movement, cymbal swells, or a vocal entrance gradually change its meaning. Repeated riffs can gain impact through small variations: a different chord voicing, a pause before the downbeat, or a drum pattern that expands on the final repetition.
Arrange for contrast before adding layers. A stripped-back verse can make a full-band chorus sound larger without raising the master level. Likewise, a deliberate silence can create more tension than another sustained note. Record a rehearsal or demo and ask whether each part adds weight, motion, or atmosphere. If it does none of those jobs, simplify it.
Capture Heavy Guitars and Bass
Capture heavy doom guitar and bass by balancing low tuning, amplifier character, and clear note definition. The goal is a broad, weighty sound that still lets the riff’s rhythm and pitch register.
Choose low tunings that suit the guitarist’s instrument, strings, and playing style. A lower tuning can deepen the sound, but it also makes string tension, intonation, and muting more demanding. Check tuning and intonation at the frets used in the song, then listen for loose string noise before tracking. A clear performance in a slightly higher tuning often sounds heavier than a poorly controlled part pushed lower.
Use amplifier gain with restraint. A loud, saturated amp can sound massive in isolation but lose definition when bass and cymbals enter. Try reducing gain until individual notes and chord changes remain audible, then compare amplifier choices and microphone positions. A dynamic microphone close to the speaker can provide attack; moving it toward the speaker’s edge often softens brightness. Small placement changes matter, so record short tests and compare them at matched volume.
Give bass guitar its own role. It can reinforce the guitar’s fundamental, add a sharper pick attack, or move independently beneath long guitar chords. A blended bass tone, combining a clean signal with a distorted amp or processing chain, can preserve low-end support while adding audibility. Keep the arrangement in mind: bass distortion that complements a sparse guitar may crowd a dense wall of chords.
Double-tracking guitars can widen a riff, especially when each take has consistent timing and slightly different performance details. It is not mandatory. A single take can feel more exposed and ominous, while tight doubles can add scale but reduce the raw, unstable edge some songs need.
Record Drums with Weight and Space
Record doom metal drums with a steady performance, controlled transients, and enough room sound to give the kit scale. Microphone choices should preserve the player’s dynamics rather than flatten every hit into the same impact.
Before tracking, tune the drums for the song and check how the kit sounds from across the room. Deep toms and a resonant kick can suit a slow arrangement, but excess resonance may obscure guitar changes. Work with the drummer to make fills deliberate and cymbal accents purposeful; in sparse music, a small timing or touch change is easy to hear.
A close-mic setup gives control over kick, snare, and toms, while overhead microphones capture the cymbal picture and kit balance. If the room sounds good, add room microphones and blend them for depth. A reflective or boxy room can exaggerate harshness, so it may be better to rely on close mics and add artificial ambience later. Treat room microphones as a color, not a requirement.
Keep impact without over-compressing. Strong playing and sensible mic placement should do most of the work. Heavy compression can bring up room decay and sustain, but too much can make slow hits feel small or noisy. Compare the compressed sound with the unprocessed tracks, and check that cymbal wash does not bury the vocal or the spaces between riffs.
Track Vocals for Doom’s Emotional Range
Track doom metal vocals to suit the song’s emotional range, from intimate and vulnerable to forceful and abrasive. A convincing delivery and well-chosen placement often matter more than a complicated effects chain.
Decide whether the vocal should sit in front of the band or emerge from within it. A close, dry take can make a lyric feel personal; a more distant performance with room sound can suggest scale or isolation. Record several complete takes, then comp phrases from performances that preserve the singer’s breath, timing, and intensity. In slow music, small timing differences can change the weight of a line.
Use microphone distance and pop protection to capture a clean performance without removing the singer’s natural tone. If the vocalist moves dramatically, a consistent position helps maintain level, though a little movement may be part of the performance. Avoid pushing the singer to imitate a particular style if it weakens the emotion the song needs.
Choose vocal effects by context. A short room or plate reverb can add depth, while a delay can lengthen the end of a phrase without washing out the entire track. Automate effects so they bloom during held words or gaps, then pull back under dense guitars. Too much continuous reverb can blur consonants and make the vocal feel detached from the band.
Create Atmosphere Without Masking the Riffs
Create atmosphere with layers, room ambience, reverb, and delay that support the central riff without competing for the same space. A few carefully placed sounds can make a track feel wider and more unsettled than a constant wash of effects.
Listen for openings in the arrangement before adding layers. A sustained feedback note, distant cymbal swell, bowed texture, or secondary guitar line can bridge sections and increase tension. If a layer repeats throughout the song, it may stop feeling atmospheric and start sounding like another permanent instrument. Let some textures appear only at transitions or near the song’s climax.
Room ambience can come from the live space, a room microphone, or a reverb effect. Natural room sound responds to the performance, but it depends on the room’s acoustic character and may be difficult to change later. Artificial reverb and delay are more adjustable, although long settings can smear slow guitar changes. Use pre-delay or automation where useful, and listen in the full mix rather than judging effects soloed.
Protect the riff’s center of attention. If a texture masks the guitar attack, vocal consonants, or bass movement, lower it, filter it, or remove it. Pan secondary parts away from the main guitar only when that creates real separation; widening every element can make the center feel weak. Atmosphere works best when the listener senses more space than the arrangement actually contains.
Mix for Depth, Clarity, and Dynamics
Mix doom metal by balancing low-end weight, instrument separation, and changing intensity while preserving the performance’s dynamics. A loud, dense master cannot replace a mix in which the kick, bass, guitars, and vocals each have a clear role.
Start with levels and panning before reaching for corrective processing. Check whether bass and guitar fundamentals are piling up, especially on sustained low chords. Use arrangement and tone changes first; targeted EQ can then reduce masking or control unwanted resonance. Avoid cutting every instrument into a narrow slot, since that can leave a technically separated mix without body.
Compare the mix at a moderate listening level and on more than one playback system. Check whether the riff remains readable, the vocal stays intelligible, and the kick and bass still feel connected. In a dense passage, a small reduction in guitar level may reveal more weight by letting the low end and drums breathe.
Keep the song’s dynamics intact. Compression and limiting can help control peaks, but excessive processing may flatten the difference between a quiet opening and a full-band ending. Make loudness decisions after the arrangement and mix balance work. A track that gets bigger through performance, density, and contrast often feels more powerful than one pushed uniformly to the loudest possible level.
Plan the Recording Workflow
Plan a doom metal recording workflow that moves from song decisions to demos, tracking, editing, mixing, and final checks. This sequence catches arrangement and tuning problems early, when they are least expensive to fix.
- Prepare the songs. Confirm structures, tempos, tunings, endings, and transitions. Rehearse to a click only if it supports the performance; a band may prefer a flexible live feel.
- Make pre-production demos. Record the full band or rough parts and listen for sections that drag, crowded low end, or unclear changes. Agree on where the song should build and where it should stay sparse.
- Test tones and rooms. Record short guitar, bass, and drum samples. Compare amplifier settings, microphone positions, and room options before committing to a full session.
- Track with the arrangement in mind. Capture a reliable rhythm foundation, then add layers and vocals. Leave time for alternate takes rather than relying on heavy editing to repair every performance.
- Mix, check, and revise. Take breaks, listen at different levels, and compare versions. Ask band members to review the mix after a pause, when familiarity is less likely to hide problems.
For a home recording, use the same sequence even if you track one instrument at a time. Consistent tuning, labeled takes, and a written record of amp and mic settings save time when revisions arrive. A professional studio offers room choices and monitoring expertise, but it cannot fix an arrangement that has not been decided.
Frequently Asked Questions
Should doom metal guitars be double-tracked? Double-tracking can widen and thicken a part, but a single guitar may sound more direct and uneasy. Choose based on the arrangement, and keep takes tight enough that the riff does not blur.
How do you keep low-tuned guitars clear in a mix? Use appropriate strings and stable intonation, control gain, and check the bass-guitar relationship in context. If notes still smear, review tuning, performance, and arrangement before applying more EQ.
Is a live room essential for recording doom metal? No. A good live room can provide natural depth, but a poor-sounding room can add boxiness or harsh reflections. Close microphones and carefully chosen artificial ambience can work well in a home studio.
How much reverb should doom metal vocals use? Use enough to place the vocal in the song’s space while keeping words understandable. The right amount depends on the arrangement; automate reverb or delay so dense passages stay clear and exposed lines can bloom.